Like most things in agriculture, there is no one way that a certain task is to be done. Farmers & Contractors the world over will have differing opinions on the best way to make a silage stack or bunker, and no one is necessarily wrong! Different geographic locations & local conditions can call for different ways of doing things. However, the principles for making a good silage stack or bunker remain the same.
1. Site Selection & Preparation
Choose the right site for your stack, ideally this should be an area protected from the wind & much like a trench or bunker, be free draining, have a slope away from the stack location to prevent water ingress during storage, and of course not be located in an area with a high water table. Another consideration for the stack location is the proximity to waterways & other ecologically sensitive areas, this is to prevent adverse effects from silage run-off.
2. Quality Crop Harvest
Quality crop harvest starts a long way back with the selection of hybrid, sowing time & weed control. But the factors you can control at the point of harvest are around the timing of the cut, try to make this after 1 to 2 days of sunny weather as it will result in greater sugar levels. Timing for cutting has also been suggested to be around the time when there is no more than 10% of seed heads appearing (a tip for pasture silage).
Short chop, it’s widely known that the shorter the chop length, the better the compaction as less air is caught in the forage, thereby producing better silage & greater density.
At the time of harvest, you should also add a proven silage inoculant, a good inoculant will help to provide faster & more efficient fermentation. This results in less dry matter & energy loss. It’s important to ensure the inoculant you choose has the right strain of lactic acid producing bacteria.
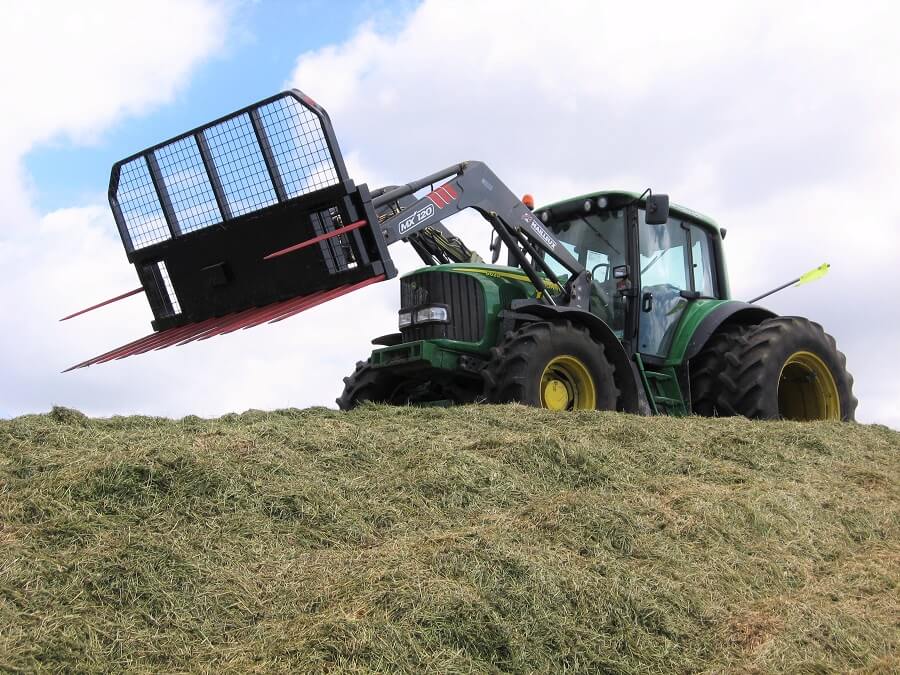
3. Top Notch Packing & Compaction
Silage should be packed & compacted down as dense as possible; this is to remove air from the stack. Short chop silage helps with this as it minimizes the amount of air trapped in the stack. A tip here is to spread silage out in 100mm to 150mm layers and compact, not adding more until that layer is sufficiently compacted. An old time/low tech way to know when your stack is sufficiently compacted is when it becomes difficult to insert your fingers into the stack, or when the tractor wheels sink no further than the depth of the rubber.
4. Seal Quickly & Properly
What does pickling cucumbers have to do with making a silage stack? Nothing, but they are both forms of preserving & in both situations rely on being sealed quickly & properly for optimum results. The packing & compaction should be conducted as quickly as possible so the stack can be sealed, thereby allowing the fermentation to begin (fermentation occurs under oxygen free conditions). There are a couple of steps that can be taken to ensure your stack is sealed as well as possible:
- Remove all folds & creases in the cover
- Make sure all holes are taped over & sealed
- Weight down the cover with tires, sandbags or another form of weight to keep the cover on without damage
- Ensure the base is sealed off securely, typically this is done with a layer of sand or lime
5. Protect
Now you’ve done all the work to plant a crop, grow it, harvest it, pack it & seal it, wouldn’t it be a shame to have all that undone by birds & mice? To prevent holes being made in the cover & losing the seal you should take the effort to protect the stack. Place rodent bait stations around the area & ensure all shrubbery & vegetation is removed from the site to deter birds. If practical you can also lay a shade cloth or bird netting over the top of the tires on the stack to prevent birds from getting near the cover to begin with.
6. Feed Out Planning
When it comes to opening the stack for feeding out there are a couple of guides you should adhere too:
- Open the stack at the opposite end to the prevailing wind, this prevents air being pushed up under the stack cover
- As soon as the stack is opened & the air gets in, spoilage occurs. In tightly packed stacks the air won't penetrate, but to minimize the possibility of spoilage ensure that the stack face moves back by about 15cm a day. To do this properly you should calculate the rate at which you will be feeding out before building the stack so that it can be sized so that the feed out rate is sufficient to push the stack face back by the recommended amount each day
- Refrain from ramming the stack with a bucket or other implement to handle the silage. Use a grab with tines that inserts into the silage & allows you to remove larger portions at a time cleanly without disturbing the stack structure
- Discard spoiled silage, and ensure that no loose material remains at the base of the stack.
Interesting Reads on Silage Making & Handling:
- Top Tedding Tips
- Cut at the right time to get more out of your hay
- Learning from the aussies for long term storage of silage
- Bale stacks make silage storage more efficient & cost effective
- Winter Feed Handling
Sources:
- https://www.ruralnewsgroup.co.nz/dairy-news/dairy-management/feeding-out-maize-silage
- http://www.biostart.co.nz/files/4414/8653/2271/Biostart_MaizeSilage_Manual.pdf
- https://www.thecowvets.co.nz/files/Getting_the_Most_Out_of_Your_Grass_Silage.pdf
- https://www.pioneer.co.nz/inoculants/product-information/how-do-silage-inoculants-work/
- https://www.farmtrader.co.nz/features/1709/the-secret-to-making-great-silage
- https://www.publish.csiro.au/ebook/chapter/SA0501083
.webp "SS_05_onBlue V1 (1)")